

The Ultimate Professional Bathroom Deep Clean (And How to Never Do It Again)
Spring cleaning your bathroom often feels like a reset button for your home. But the feeling of a pristine, sparkling bathroom usually fades within days. The secret to a spotless bathroom is not just about scrubbing harder; it is about cleaning smarter and putting your bathroom on autopilot.
Welcome to The Clean Lab. Today, we are breaking down the exact top to bottom sequence professional cleaners use to transform a bathroom, the hidden spots you are definitely missing, and the ultimate strategy to make sure your next deep clean is dramatically easier.
The Golden Rule: Top to Bottom, Dry to Wet
Professionals never start with the toilet or the floor. The fundamental law of efficient cleaning is gravity. Dust and cleaning solutions fall. If you clean the floor first and then dust the ceiling fan, you have to clean the floor twice.
Start completely dry. Grab a microfiber cloth and a duster. Work your way from the ceiling corners down to the countertops, sweeping all the loose dust, hair, and debris onto the floor. Vacuum or sweep the floor before a single drop of liquid touches any surface. Once the room is dry dusted, switch to your wet cleaning agents, again starting from the top mirrors and working your way down to the sink, the tub, the toilet, and finally, mopping your way out the door.
The Professional Deep Clean Checklist: 12 Often Missed Surfaces
Even if your bathroom looks clean, bacteria and hard water minerals hide in microscopic crevices. Here is your printable checklist of the twelve zones that need your attention during a true deep clean.
-
Exhaust fan blades: Dust buildup here spreads allergens every time you flip the switch.
-
Ceiling corners for mold: Condensation rises, making these upper edges prime real estate for hidden mildew.
-
Showerhead interior: Mineral deposits clog the nozzles and harbor bacteria right where your clean water flows.
-
Mirror edges: Cleaning spray drips down and pools at the bottom edge, degrading the silvering over time.
-
Towel bar mount points: Moisture gets trapped behind the brackets, causing silent rust or wall damage.
-
Cabinet hinges: Toothbrush splatter and hairspray dust turn these metal joints into sticky traps.
-
Shower door bottom track: The absolute worst offender for soap scum and hard water calcification.
-
Grout lines: Porous lines absorb dirty mop water if not specifically scrubbed and sealed.
-
Drain cover underside: Out of sight, but the primary source of mysterious bathroom odors.
-
Under toilet tank bolts: A notorious spot for slow, silent leaks and rust accumulation.
-
Inside flush handle housing: Grime builds up in the mechanism you touch every single day.
-
Behind toilet base: The hardest place to reach, collecting dust and condensation near the floorboard.
The Automation Logic: Work Smart, Not Hard
A professional deep clean is deeply satisfying, but it requires hours of physical labor. The real magic happens right after the cleaning is done.
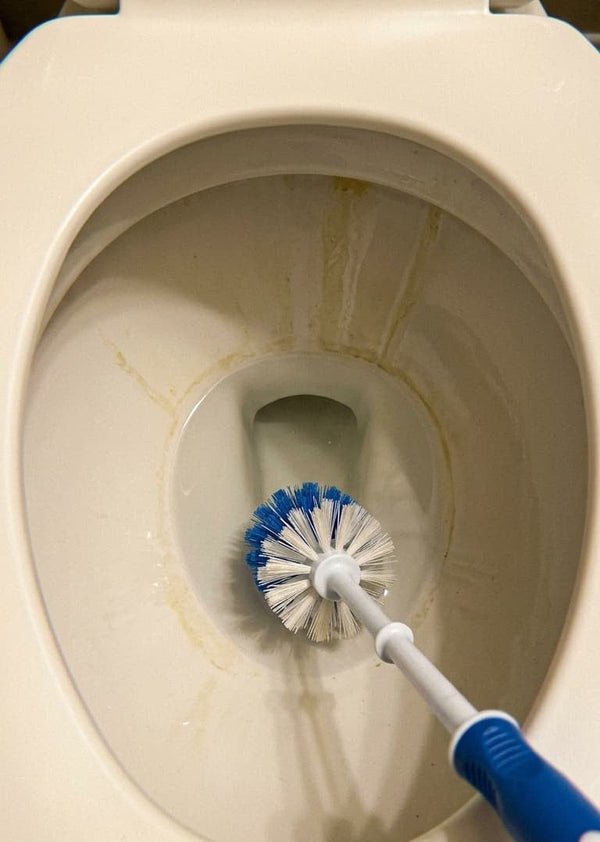
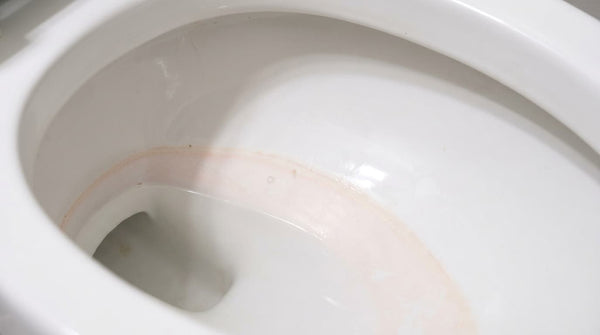
Think about your bathroom fixture that works the hardest: the toilet. It is the epicenter of hard water stains, mineral rings, and bacteria. You just spent thirty minutes scrubbing the porcelain glaze to a perfect shine. Why would you let the cycle of buildup start again tomorrow?
Installing an automatic maintenance system immediately after your annual deep clean changes the entire trajectory of your household chores. By treating the water before it even enters the bowl, you prevent minerals from grabbing onto the porcelain. You stop the stains before they form.
When you automate the hardest part of bathroom maintenance, your weekly cleaning shrinks to a simple wipe down. Next year spring cleaning becomes effortless because the hard water damage never had a chance to compound.
After your spring clean, drop a LAVO pod in the tank: maintenance mode activated for 30 days.